Showing posts with label unity. Show all posts

Sunday, 15 July 2018

Making musical toys at Unity Hackweek

Initial Idea & Inspiration

At Unity Hackweek 2018, a group of us worked on a music maker, which was eventually named Super Sound Synthesizer 3000. The aim was to create a music sequencer that lives in the Unity Editor as an editor window.

The idea for this came from mentoring at Girl Game Maker Day. We had provided code and art for the girls to make their game, but music was an afterthought (as it too often is in game jam environments, unfortunately). Even asking the girls to download some free music from the internet was a challenge, as most free music sites require registering, and many of them were too young to have an email address of their own. We needed something simpler to create music without learning a new tool.

After this initial idea, a lot of the early inspiration came from Doodle Studio 95. It’s fun, it’s playful, and it’s simple to create sprites and animations that can go directly into your Unity project. One of the main things we wanted to achieve with our music maker was that it should be easy for a beginner to create something, but someone more skilled can also create something great if they want to; Doodle Studio does this so well (as shown by the trailer for it!)

The team

I started rounding up the team a couple of months before Hackweek even started. First, I approached Andy Selby, since I knew he enjoys making digital music, and he had made music-related Unity projects in the past. He said “oh, yeah alright then”. One down.

Next I asked Siobhan Gibson and Hope Rudd. I can't remember which order I asked them in, but they both said something along the lines of “oh, that sounds fun”. Ideal.

Siobhan is really passionate about fun and simple game-making tools, so I hoped she’d be keen. Hope is new to programming and I knew this would be a great chance for them to deep dive into a project and work collaboratively with a team, so I’m glad they agreed! Hope is also in a band, so extra points for them.


Other people joined our Slack channel to ask questions, but it ended up just being the 4 of us in the team. I didn’t realise until later on how beneficial this would be. We all knew each other’s strengths and weaknesses, so we knew how to work together (even though none of us had actually worked in a group together before).

Further research

On the first day of Hackweek, we planned to only research, experiment and prototype. This gave us a chance to get used to the atmosphere of the hacking hall, and all decide how the project should look and feel.

Siobhan spent the day looking at other playful music tools (because us saying ‘Doodle Studio but music’ is not a sufficient design spec).

One of the stand-out tools that Siobhan found was Song Maker. We all fell in love with it pretty much immediately.

Toc and roll is also great. We especially loved the way you could use your voice and a sample, and that is has effects pedals! Siobhan was able to quickly made a lovely song (that actually got stuck in my head) and had a fun time showing us how to use it, which the the exact sort of thing we wanted from our music maker.

Siobhan used these tools as inspiration and created a mock-up in excel for how ours could look.


Andy has been making digital music for years, so he was able to provide great insights from the more professional angle, too. On the more professional side, we looked at tools like FLStudio and Reaper.

Microphone Recorder

As a sort of coding warm-up, Hope and I pair-programmed a very mini prototype of one of the desired features. We created an editor window where you enter how long you’d like to record for in seconds, then press record to start a microphone recording. This recording is saved as a .wav file inside the Unity project. We did this so we could get an idea how the workflow could work, and how wav files are created and saved. It also gave Hope a chance to make Editor Windows, and learn about the process that goes into creating tools. (Side note: Hope is a total joy to work with. They made notes about everything we went over, and asked good questions as we went. Not only did they learn a lot (hopefully!) but it made me slow down what I was doing and think about it.)


We used this code to save the AudioClip as a .wav file, and we had a lot from the Unity Manual to learn about how Microphones work with Unity.

UI elements

Super Sound Synthesizer 3000 was made using Unity’s UI Elements feature. We chose this instead of the existing Editor GUI so that we’d have more flexibility and a chance to play with a new area of Unity. UI Elements is much closer to web development than EditorGUI. This intimidated me, but Andy was great at learning the information and explaining it back to me. We had to do some odd tricks to make things work (for example, we had to manually flip through frames of a sprite animation because there is no support for gifs out of the box).

Buttons using GUILayout are simple to implements, as shown here: GUILayout.Button. A button in UI Elements requires a few more lines of code, as shown in their example project: UIElementsExamples.

Wav saving fail

The biggest hurdle was trying to get the audio created with our synthesizer to save as a .wav file. I investigated a few different methods:

  • Joining audioclips
    • This gets confusing when more than one clip plays at a time
  • An asset package: Audio Clip Combiner
  • Recording from “in-game” audio
    • We couldn’t figure out how to access it without using something like Soundflower

We ended up using a hacky version of the microphone recorder that Hope and I had worked on earlier in the week. It waits until the audio loop is back at the beginning, and it records for the length of time of one loop. It was terrible and included all the background noise from the room, but creating our own way to record in-editor audio somehow could have been another Hackweek project! Definitely not something to do on a Thursday evening.

Last few hours

Earlier in the week, I needed a sound to test the synthesizer. Luckily, I could just easily record a small clip using the Microphone Recorder window. Naturally, I meowed. I did not think about how this would be played whenever someone opened the window. It sort of became a meme within the team. We HAD to include this in the final product, so in the last few hours, Siobhan created a cat icon, and I added The Cat Button to our window.

We also wanted to add tempo buttons, as we pretty much already had the code to do it. To make it beginner-friendly, we opted for a tortoise, a heartbeat, and a hare to illustrate slow, medium, fast. It worked really well and looked cute!

The Final Product

The Future

We all had loads of fun working on this, and we'd like to keep it up! One of the things Hope started working on in the week was a way to add effects to the audio (like Reverb, for example) but we didn't have time to get this added. Hopefully, we can make some cool guitar-pedal-esque UI and get this hooked up :)
As UI Elements will eventually be usable for in-game UI, we'd like to make a small in-browser demo for this toy, too.


Thursday, 1 March 2018

What is dynamic batching, and why is it off by default?

While reading this tutorial, I came to a section where it said something like “as you can see, dynamic batching has stopped working”. I did not see that. In the image in the tutorial “Saved by batching” on the stats panel had dropped to 0, but my stats panel still showed a number in the 1000s.

When I checked the player settings, I noticed dynamic batching was turned off. After a bit of investigation, I learned that dynamic batching is now off by default for 3d projects as of Unity 2018.1; but why is this useful?

A mesh is the part of a 3D object that describes its shape. When certain criteria are met, Unity is able to combine meshes from different GameObjects into one big mesh before they are drawn. This is called dynamic batching. The "dynamic" part means it happens while the game is running.

Sometimes (but not always!), it takes less time to draw one big mesh than it would to draw lots of smaller meshes. Dynamic batching occurs on the CPU, and drawing meshes occurs on the GPU. You can think of dynamic batching as spending CPU time to save GPU time. This means that it becomes more likely that the game becomes CPU-bound (meaning that the frame rate is lower than you want because the CPU is taking the most time), but you should ideally want as much as possible to happen on the GPU; that’s what it’s there for.

If your game is already CPU-bound, then dynamic batching will not help. But if your game is GPU-bound (meaning that the frame rate is lower than you want because the GPU is taking the most time), then it may help.

(FYI: The GPU equivalent of dynamic batching is GPU instancing.)

For these reasons, dynamic batching is desirable for old mobile devices that don’t have a GPU (or have a bad GPU), but it is not efficient for games intended for more modern devices.

Here is a helpful article that goes into a bit more detail: Why Are My Batches (Draw Calls) So High?
Also: https://docs.unity3d.com/Manual/DrawCallBatching.html

Saturday, 3 February 2018

Shaders aren't as scary as I thought: My first shader with Unity Shader Graph

Disclaimer: I have worked at Unity since September 2016, but this is not a marketing blog or anything like that. This is my personal blog with my genuine experiences and reactions. Also, my boyfriend works on the Shader Graph team, but he wasn’t actually even in the country when I was making these.

***THIS IS NOT A TUTORIAL***


If you’ve ever played any of my games, you will know that I am definitely not an artist. Art is fun and I appreciate it, but I’m not good at it.

For those new here; hello, I’m Sophia. I’ve been working as a programmer for a few years (in various roles/companies). I studied Physics at university, and I’m pretty good at maths, so I have been asked to help when my friends have had issues writing their shaders before. Small stuff like figuring out relationships between variables etc.

While I’ve always wanted to make shaders, I never really knew where to start. It felt very counterintuitive to write code relating to visuals but with no visual feedback.

During Scenario Test Week at work, my team has been working on a golf game. I was working on pickups/modifiers, and I wanted some cool effects to happen when certain modifiers turn on. My initial thought was ‘I need fire’. Since 2018.1 is the release that includes Shader Graph, it felt like the time had come for me to finally make my first shader.

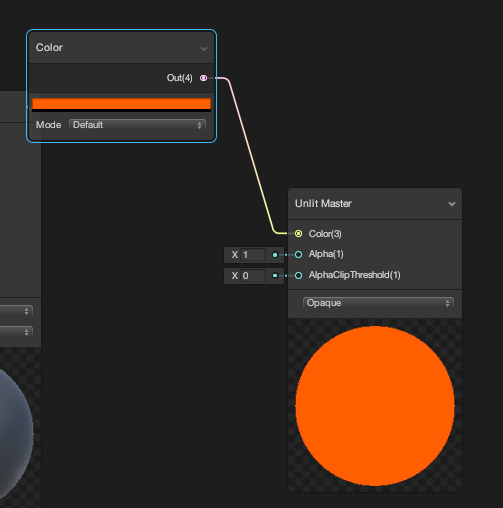
I was going in pretty much completely blind. I just started adding nodes.


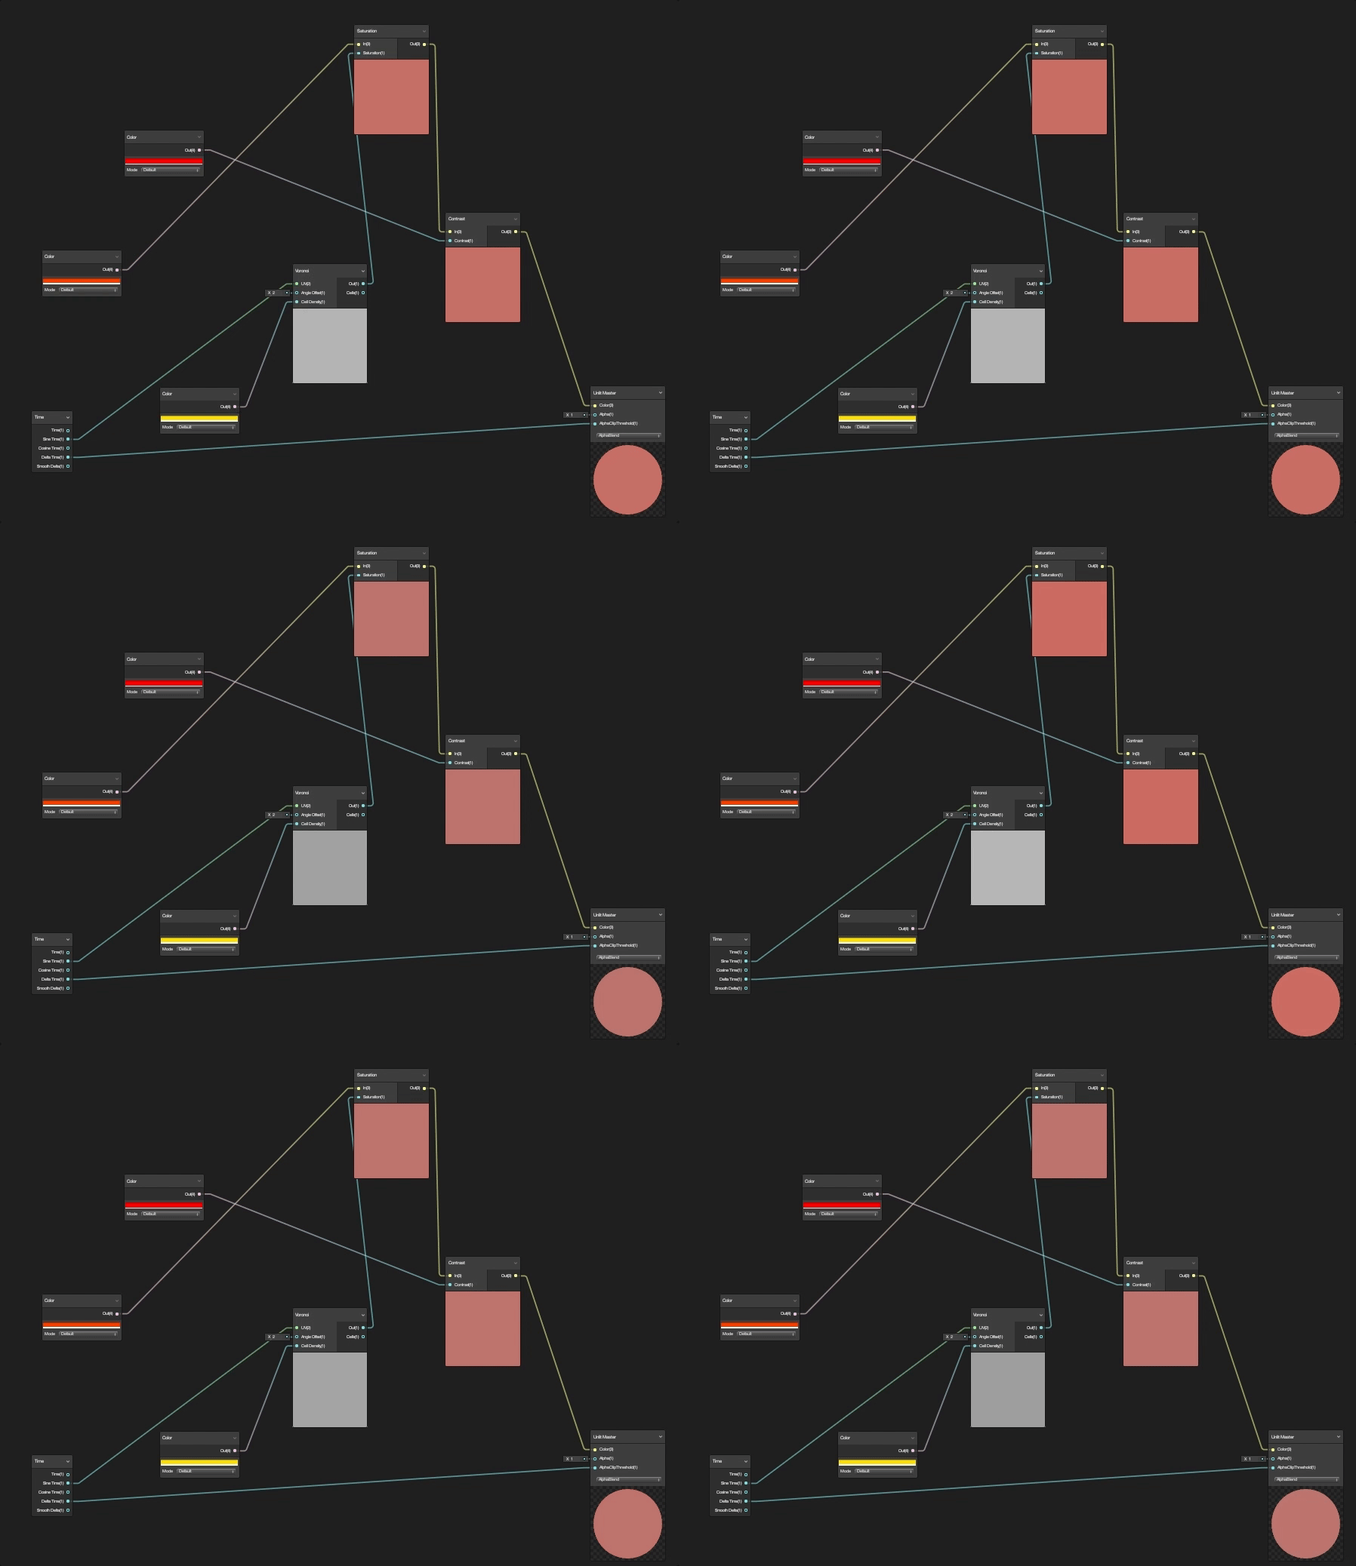
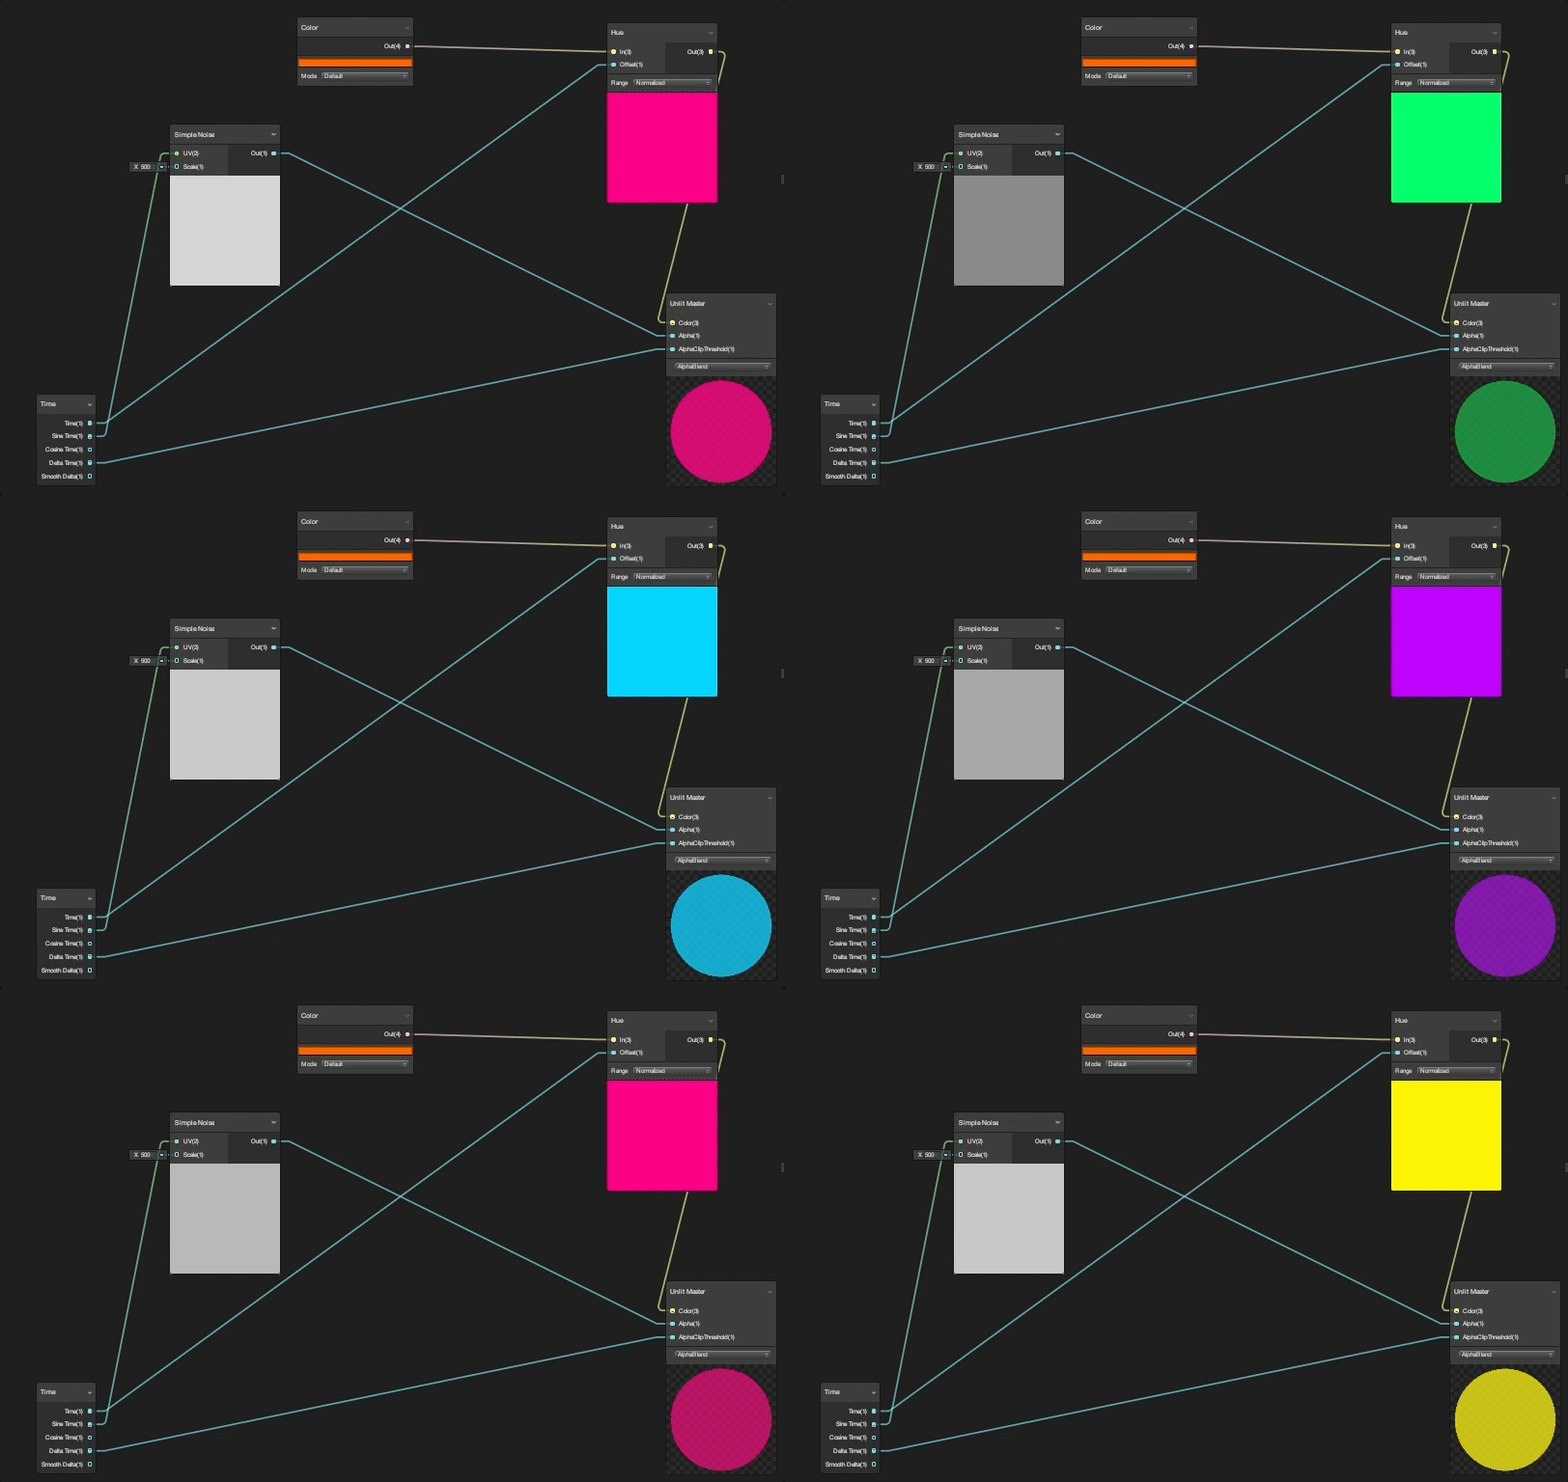
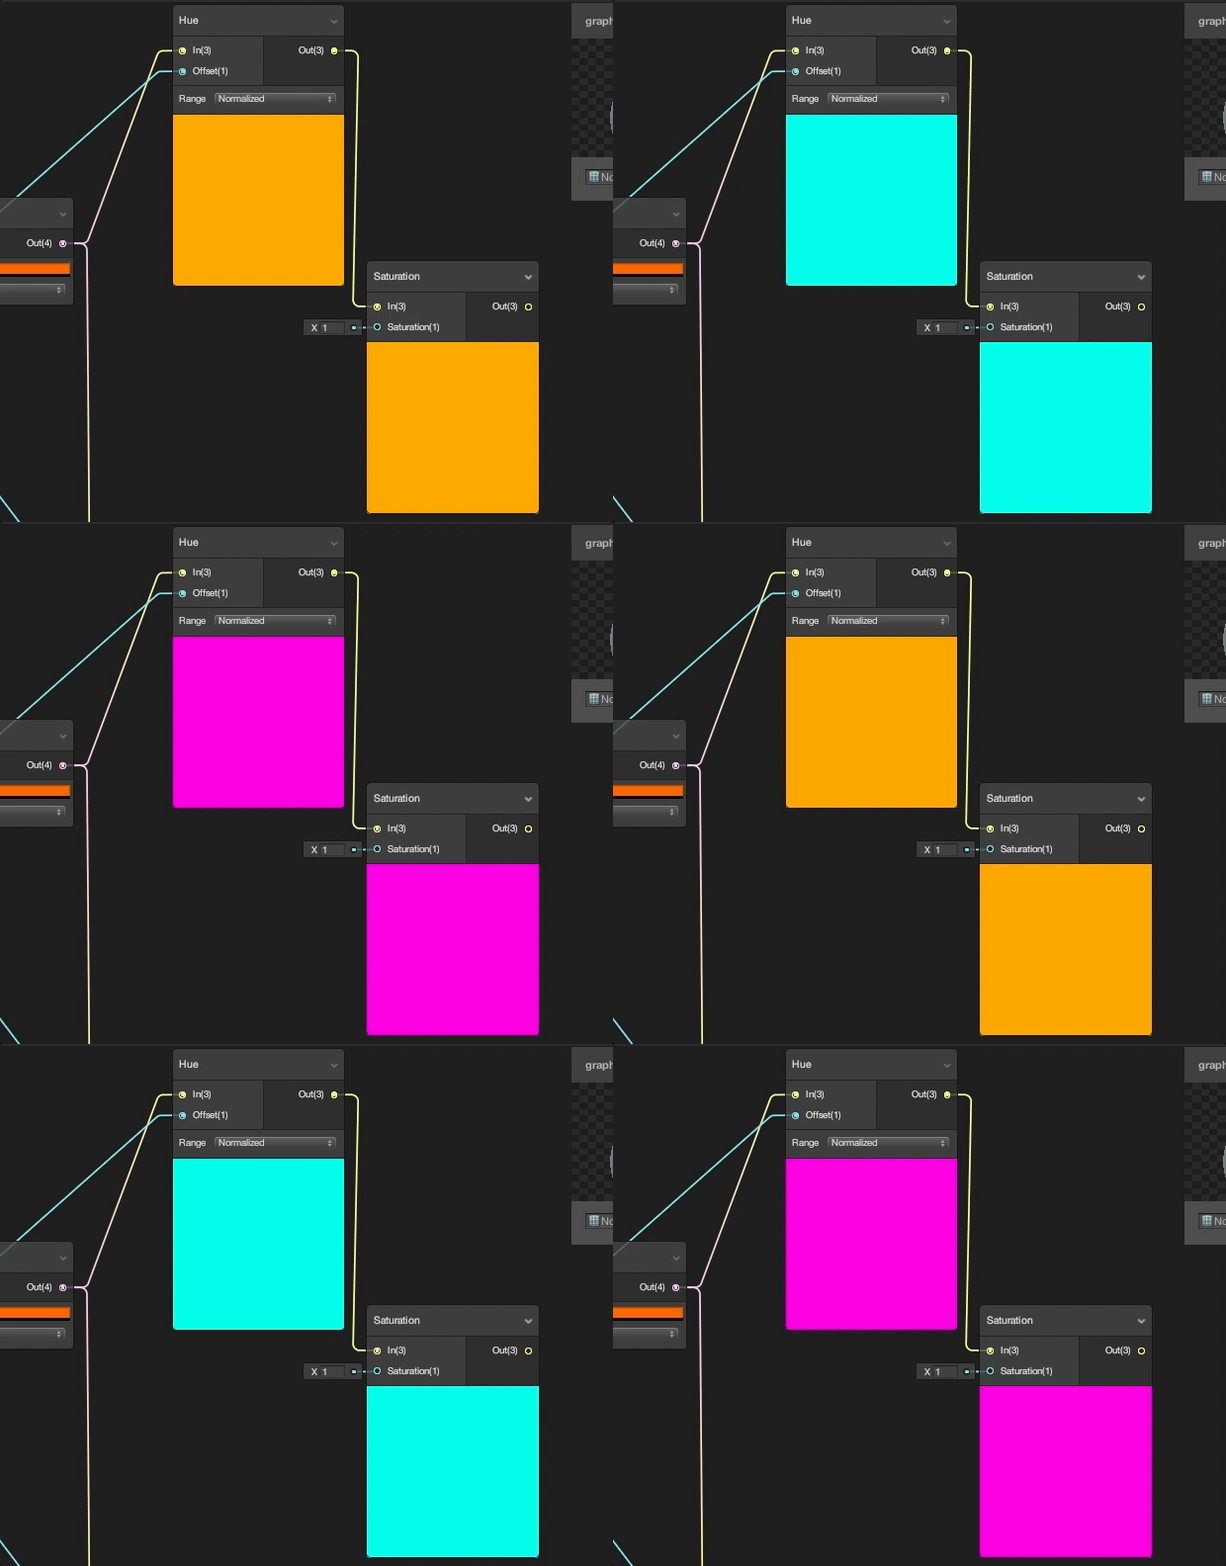
I’m not sure why I thought the Hue node would be relevant at all, but it turned out pretty fun. It's not included in the gif, but the Time node is definitely involved here.

I came back to this “Disco Fire” later. I didn’t want to get distracted before I even started.

Time and noise were definitely relevant, but I just didn’t really know how. Most of these connections are definitely irrelevant, but I wanted to show what I actually made.

So this sort of resembles fire, but it’s definitely not great.


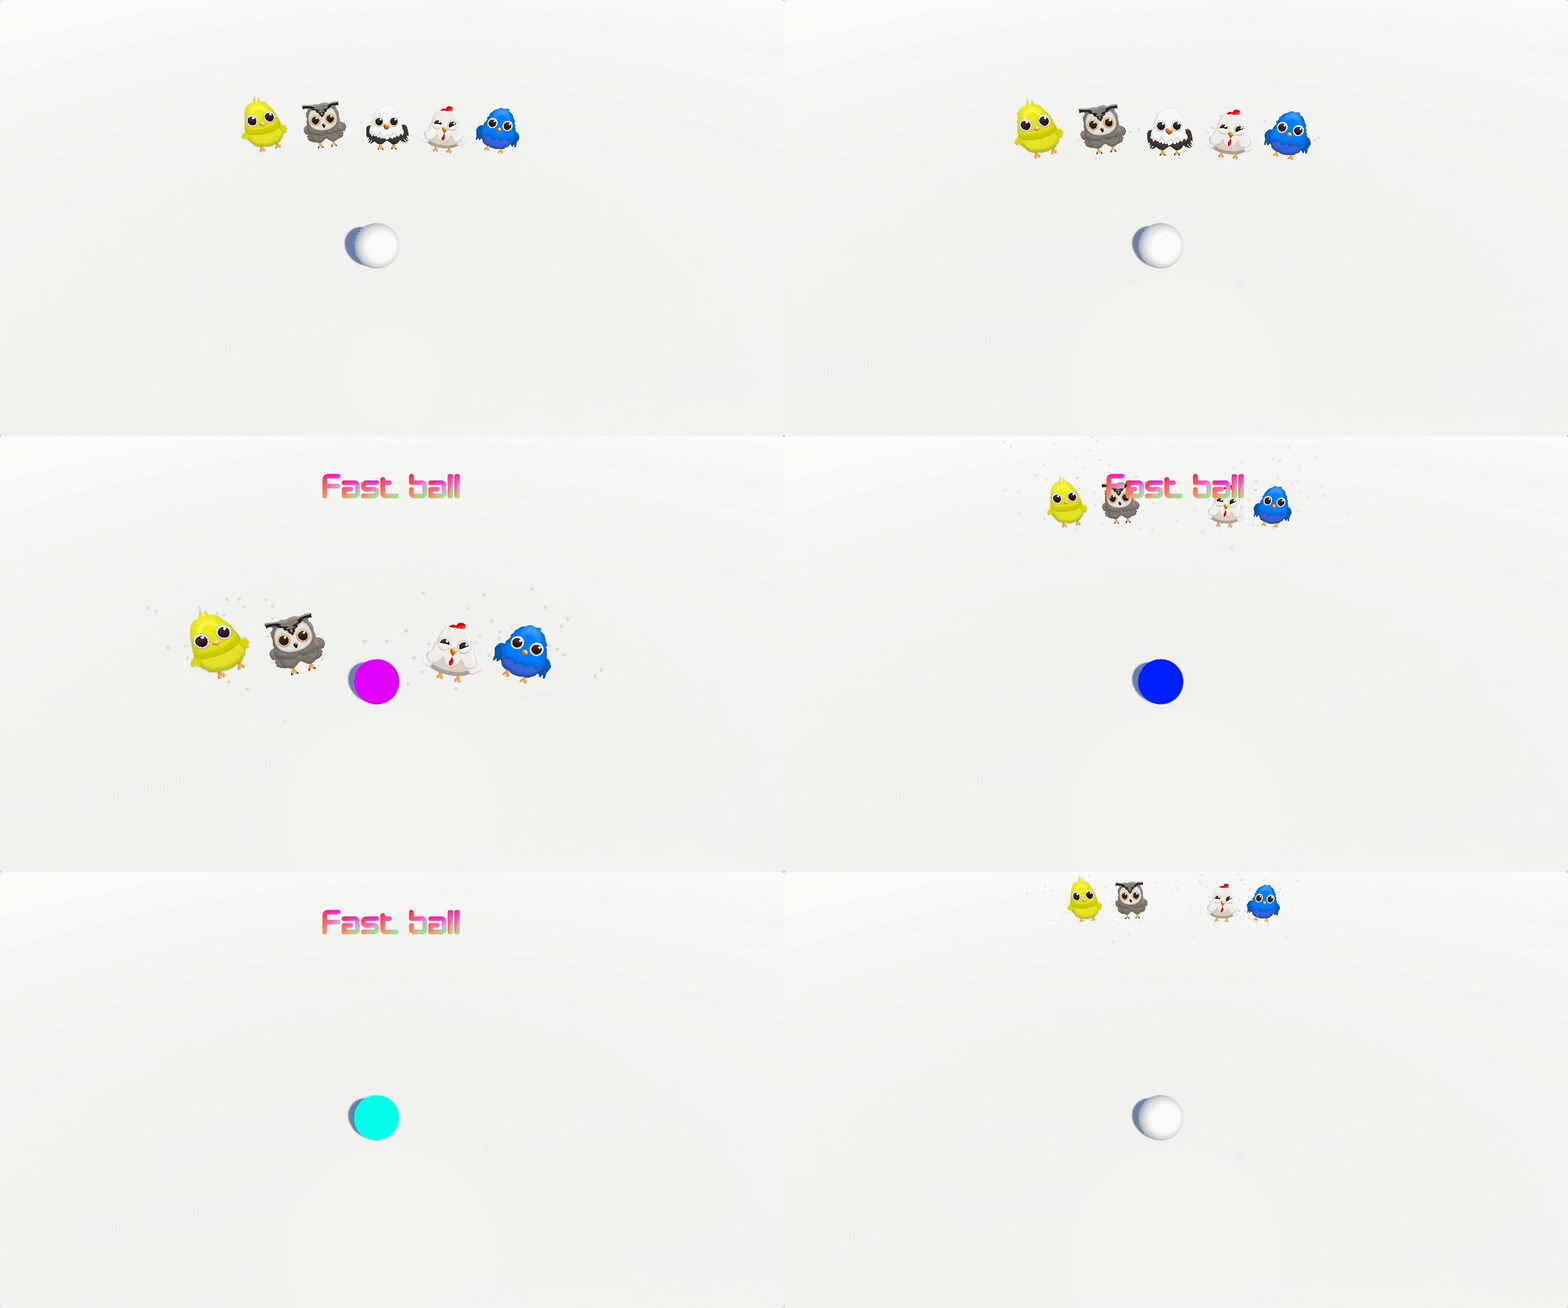
At this point, I went back to the Disco Fire, because it was way more fun. This ended up being used on the golf ball when the speed boost is applied, so I was pretty happy with that one and moved on.


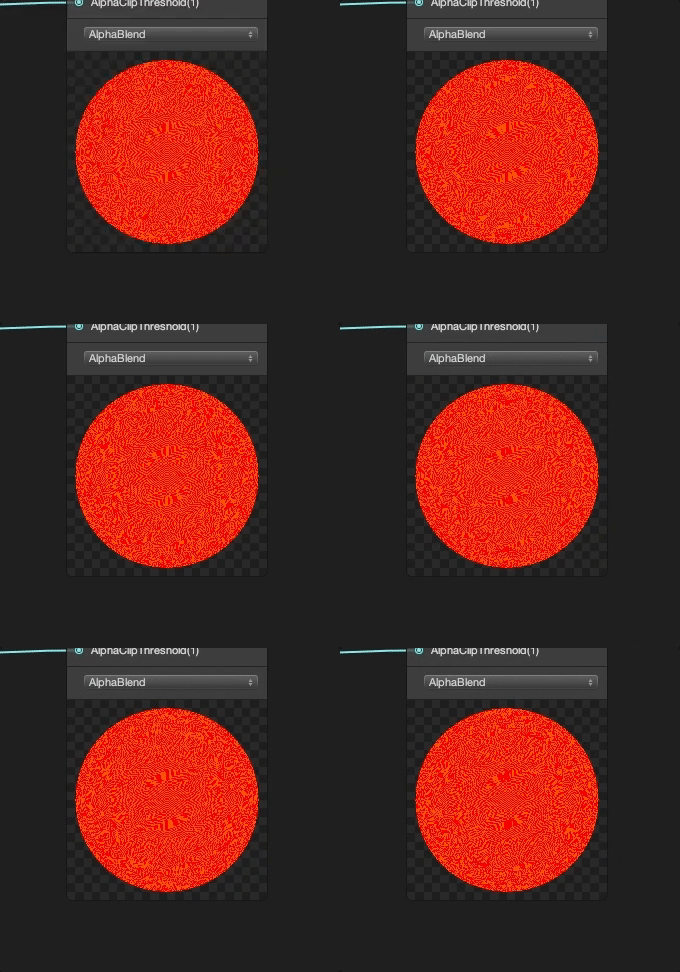
I don’t know why I didn’t include all the nodes for this one :( sorry. It's meant to be lava-ish.


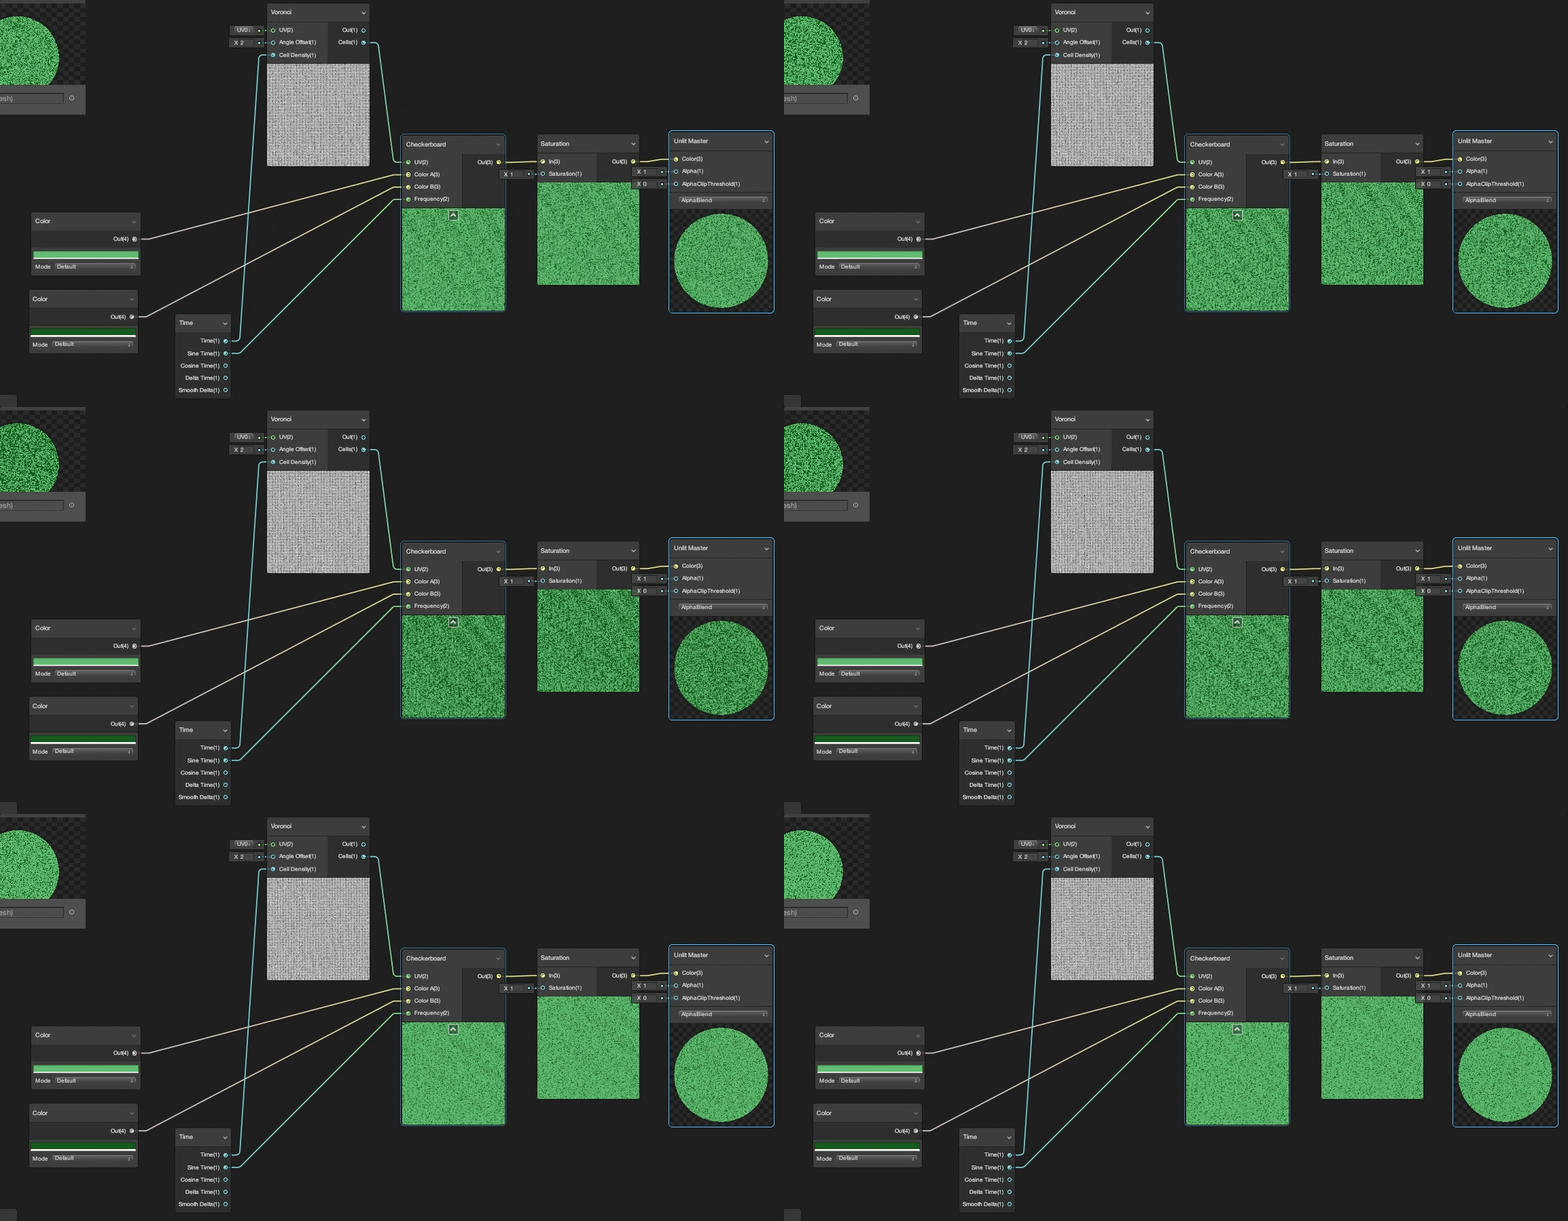
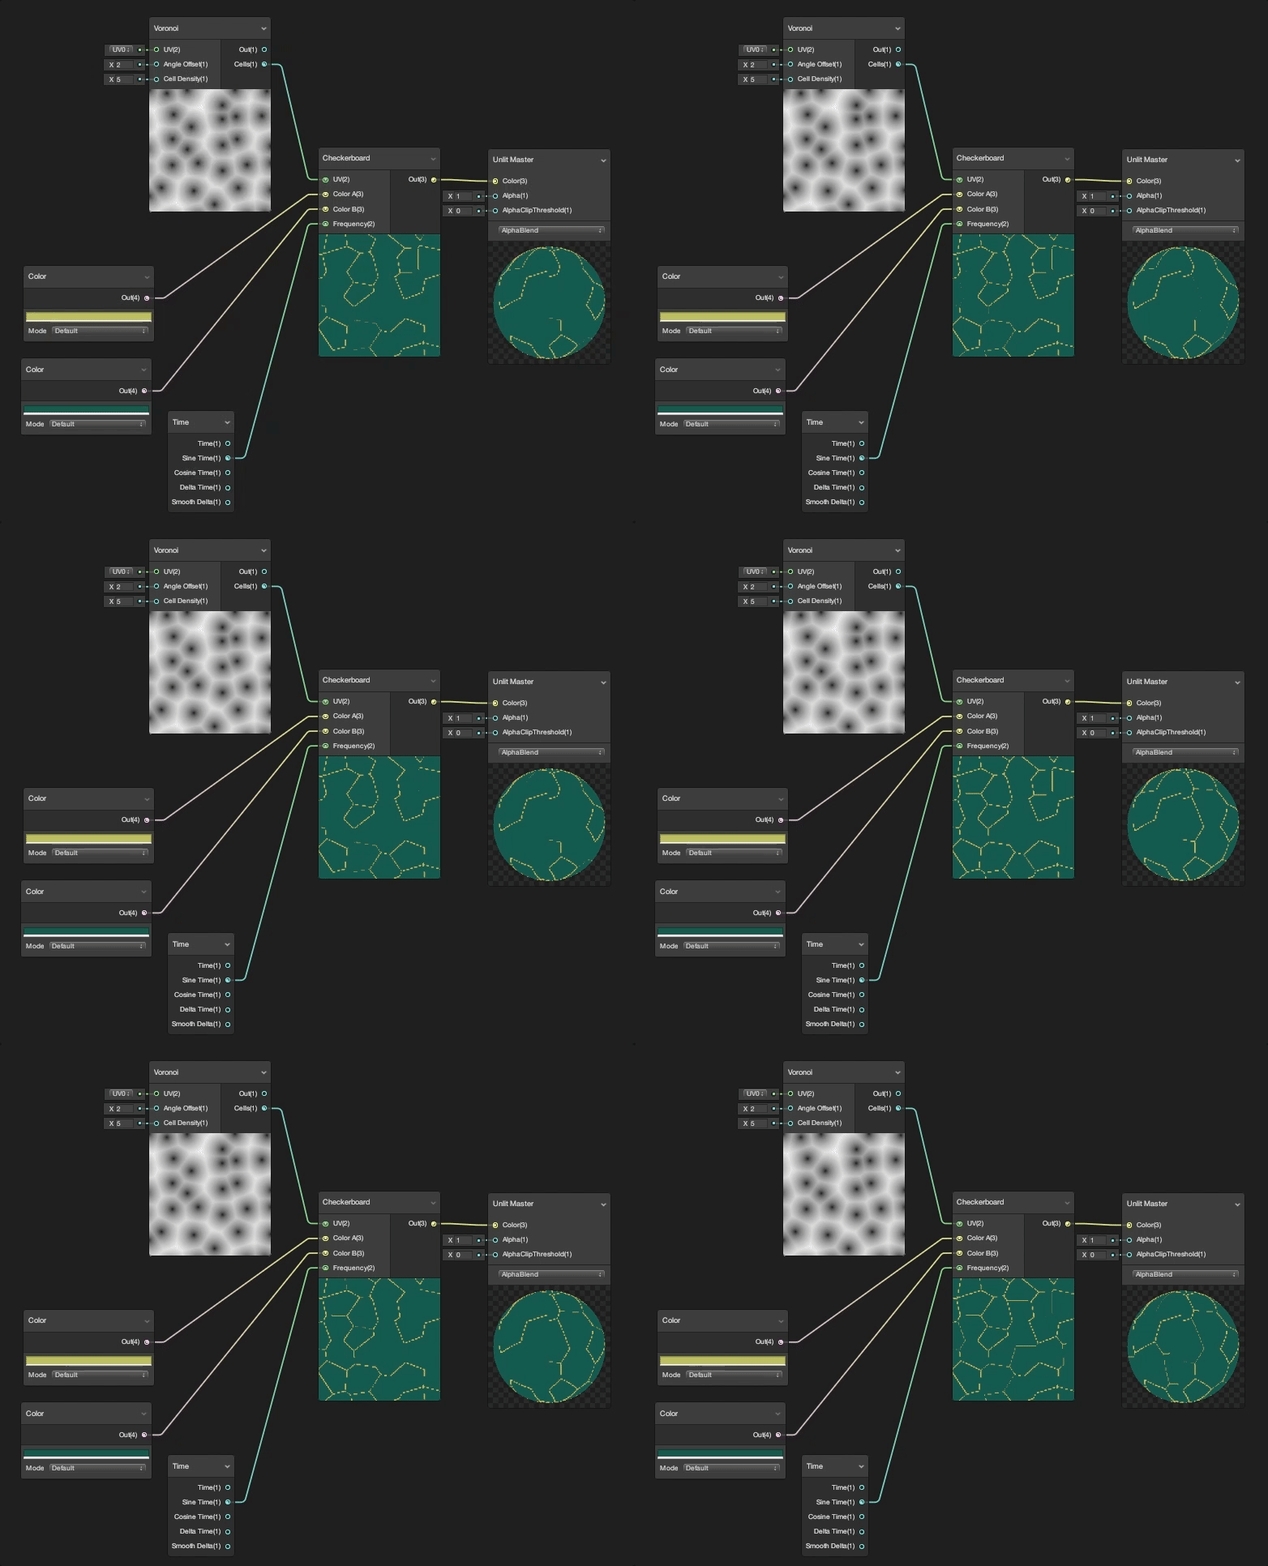
I guess with this one I was going for like a… moss… thing? Idk. shaders, man. The checkerboard node was because I wanted to input more than one colour, and the Voronoi noise was because I wanted it to be sort of blobby (like lava).


This one is definitely my favourite, and I actually started to kind of understand what I was doing. As you can see, there are a lot fewer pointless noodles, and the final look is a lot closer to the lava effect I was trying to achieve. I ended up using this one for the slow ball pickup because it made me think of stone.


Here’s each of them before I added shadows. I was backporting these shaders to a Unity project that wasn’t using the Lightweight Render Pipeline, so I had to make a few changes to the shader file (I don’t want to go into this in this non-tutorial, but happy to make a separate post showing what I did, if anyone wants.)


Aaaand here's my lil test scene showing the fast ball in action (with shadows!)


So that was my experience with using Shader Graph to make my first ever shader! Hopefully this will encourage more people to try using it because it's really not as scary as it looks.

Sunday, 17 September 2017

I made a Unity editor window because of a weird dream I had

Yep, that's right. I've been thinking about custom Unity editor windows so much that I had a dream about them.

I originally wanted to make editor windows to create some in-editor tools, and automate certain processes. I had been experimenting and playing, but I hadn't really made anything functional. Then I had the dream.

Making an editor window itself is pretty simple. I was able to follow the Unity docs to make one when I first started learning. If you follow that documentation, you will be able to create an editor window. It won't do much yet, though.

Unity editor window scripts derive from UnityEditor.EditorWindow as opposed to UnityEngine.MonoBehaviour, and I needed to figure out how to get clicks and events from the custom window to affect game objects and other UnityEngine objects. After a lot of searching, I found a tutorial on The Knights Of Unity, and I was able to use the examples they provided to help me.

Since I already knew how to create editor windows, I had gotten as far as:

Apologies for the weird Gist formatting.

This gave me an editor window with a toggle (defaulted to false/unchecked), but it didn't actually do anything.


Obviously, I needed a way to find a way to make this toggle's event actually trigger an action in the scene. For this, I needed to make use of EditorPrefs. Making use of what I had learnt from The Knights Of Unity's blog, I created the following script:


The script has a public bool (with some editor-only properties), as well as a public reference to a GameObject which gets turned on and off in Update(). This is great, but it means I need to change the window script from

mangoEnabled = EditorGUILayout.Toggle("Mango Toggle", mangoEnabled);

to

ClickToMango.mangoEnabled = EditorGUILayout.Toggle("Mango Toggle", ClickToMango.mangoEnabled);

which references the bool in the ClickToMango class/script.

My Click To Mango dream became a reality.


Could I have done this just using a regular script in the inspector? Yes, probably. Did I learn more about how custom editor windows by doing this? Yes, definitely.

You can look at this on GitHub if you want.

PS I got this mango from the Unity Asset Store <3